Gear Recommendations and Packing List for Bikepacking the Colorado Trail
Packing for an extended bikepacking trip isn’t drastically different from that of a hiking trip, but there are a few critical pieces of gear that can make a world of difference. I outline a comprehensive bikepacking trip gear list to start and then describe those special pieces of gear that you might consider bringing along. I completed the Colorado Trail this fall and wrote a little web series about my trip along with advice aimed to help other mountain bikers (and possibly even hikers) plan their own adventures on the trail. If you haven’t already I’d suggest reading some of the articles in the series:
- A Basic Guide to Bikepacking the Colorado Trail
- Logistics and Planning Advice for Bikepacking the Colorado Trail
- 28 Beautiful Photographs of the Colorado Trail in Fall
- How Much Time Does it Take to Hike the Colorado Trail?
Disclosure: Some of these links are affiliate links. That means if you click a link and end up making an order through any of these online retailers, this site receives a small commission. Thanks for your support - it wouldn't be possible without you!
The Essentials
I’ll get into the specialized bikepacking gear in a second, but it’s worth discussing the basic gear that I brought. This gear list is akin to baselayer, and the specialized bikepacking gear is the fancy Gore-Tex jacket on top. You could simply load up a 60 L backpack with gear and take off on a bike, but it’ll be significantly less comfortable and efficient.
This is the same dependable gear setup that I bring on backpacking trips, and while it’s not necessarily the lightest, it’s reliable and robust. Before any trip I always double check my packing against the REI Backpacking Checklist - it’s a good way to make sure you don’t leave anything important behind!
Big Four
Arc’teryx Axios 35 Backpack
Black Diamond Mega Light Tent
Marmot Lithium 0 Degree Sleeping Bag
Therm-a-Rest RidgeRest Sleeping Pad
Navigation
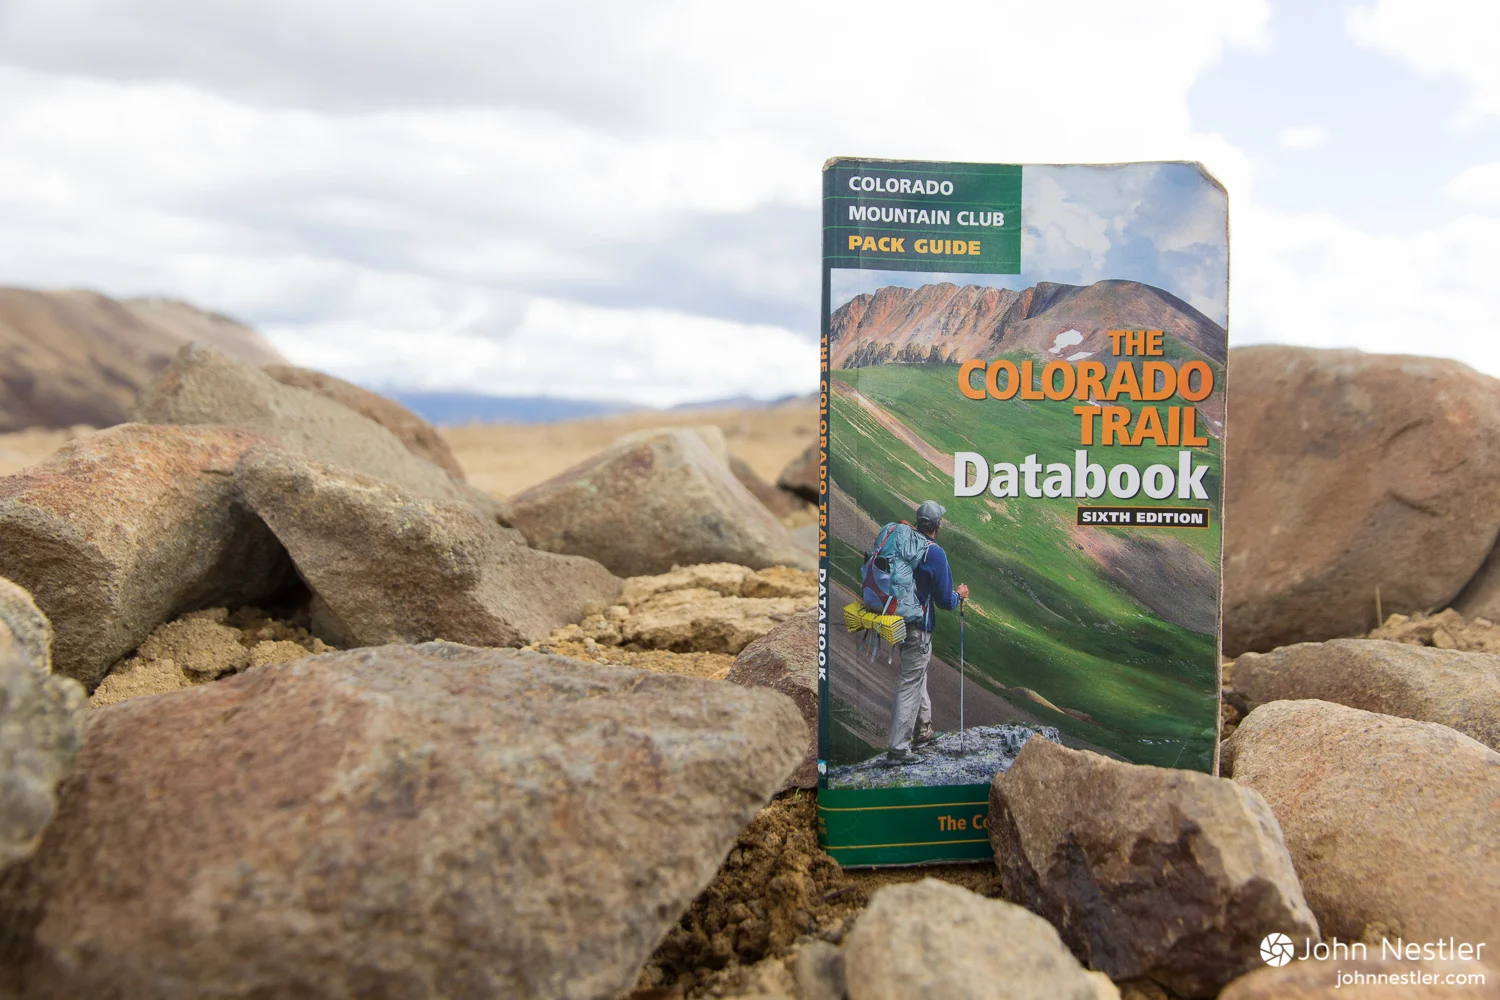
Colorado Trail Databook
Suunto Compass
Guthooks Colorado Trail Hiker (iPhone application)
Suunto Core Watch (altimeter and barometer)
Sun Protection
Rocky Mountain Sunscreen SPF 50
Buff for neck protection
Smith Pivlock V2 Sunglasses
Clothing & Rain Protection
Patagonia R1 Fleece Jacket
Marmot Isotherm Puffy
Fleece Pants (two pairs)
Wool Socks (two pairs)
Icebreaker merino shirt
Generic Polypro shirt
Mountain Hardwear Hat
Outdoor Research Gripper Gloves
Marmot Speed Light Rain Jacket
Marmot Minimalist Rain Pants
Lighting
Black Diamond ReVolt Headlamp
First Aid
Minimalist First Aid Kit w/ basic drugs
WMA WFR Medical Handbook
Epi-Pen
Stove & Cooking
Optimus NovaPlus
750 mL Optimus Fuel Bottle
MSR 2 Liter Pot
Optimus Titanium Spork
3 Lighters
Kershaw Tanto Knife
Repair Kit
Stove repair kit
Duct Tape
Swiss Army Knife w/ relevant tools
Floss
Water Storage & Treatment
Nalgene 1L Water Bottle
MSR 4L Dromedary
Aqua Mira Treatment (see discussion here)
Toiletries
Toothbrush & Toothpaste
Floss
Vaseline (chafing & as lip balm)
I mentioned it in earlier articles, but my cycling trip started September 16th and ended October 5th. That’s pushing the envelope a bit with snow and cold weather, but it was doable. If you’re doing an earlier trip on the Colorado Trail it’s very likely that some of the clothing and insulation (i.e. the zero degree sleeping bag, extra fleece) may be overkill. I wore all the clothing at one point or another, so while those additions added weight and bulk it was well worth it. Adjust your pack list based on expected conditions, and cut as much bulk as possible!
Specialized Bikepacking Gear
Official Colorado Trail Guidebooks
The Colorado Trail Foundation publishes two great books that are invaluable for any trip on the Colorado Trail. The Colorado Trail Databook is designed to be a portable trail guide with the basics of the trail including navigation, campsites, water sources, elevation profiles, wilderness detours, and points of interest. I navigated the whole trail with only this guide, and it’s a staple for anyone wishing to hike or bike the Colorado Trail. In addition, the Colorado Trial Guide 9th Edition can be used as a more in-depth planning resource. The Colorado Trail Guide includes full maps, mile-by-mile route descriptions, points of interest, trail planning advice, and some history as it relates to the segments. I used the Colorado Trail Guide to assist in pre-trip planning, and then relied solely on the Databook while on the trail. These books provide information for both hikers and bikers and are absolutely essential for anyone planning to do the Colorado Trail.
Buy the Databook for $13 at Amazon.
Revelate Designs Ranger Frame Bag
Revelate Designs makes durable bike bags for cyclists, and on the Colorado Trail they’re essential for providing extra storage space and keeping weight off your back. The Ranger Frame Bag is designed to use the full triangle on your bike, and they make it in four sizes so you can get as close to a custom fit as possible. You see these bags used by bikepackers all the time, and there’s a reason for that - they’re bomber! Both the zippers and fabric are heavy-duty, and the design is well thought out - there’s even a hydration tube port in the design!
I stored my heaviest items in here to keep the weight low and centered. I fit a 1 L Optimus Fuel Bottle, 3 L of water in an MSR Dromedary, 28 oz jar of peanut butter and 500 mL of olive oil in the main compartment. The side zip contained my bike repair kit. I’ll go into more detail with it later, but to illustrate storage, the side zip fit: a wrench, multi-tool, patch kit, pump, zip-ties, and spare brake pads. In short, it carried a ton of weight and handled the abuse of the Colorado Trail with flying colors. I’ll definitely keep this frame bag on my bike for recreational riding in the future.
Revelate Designs Viscacha Seat Bag
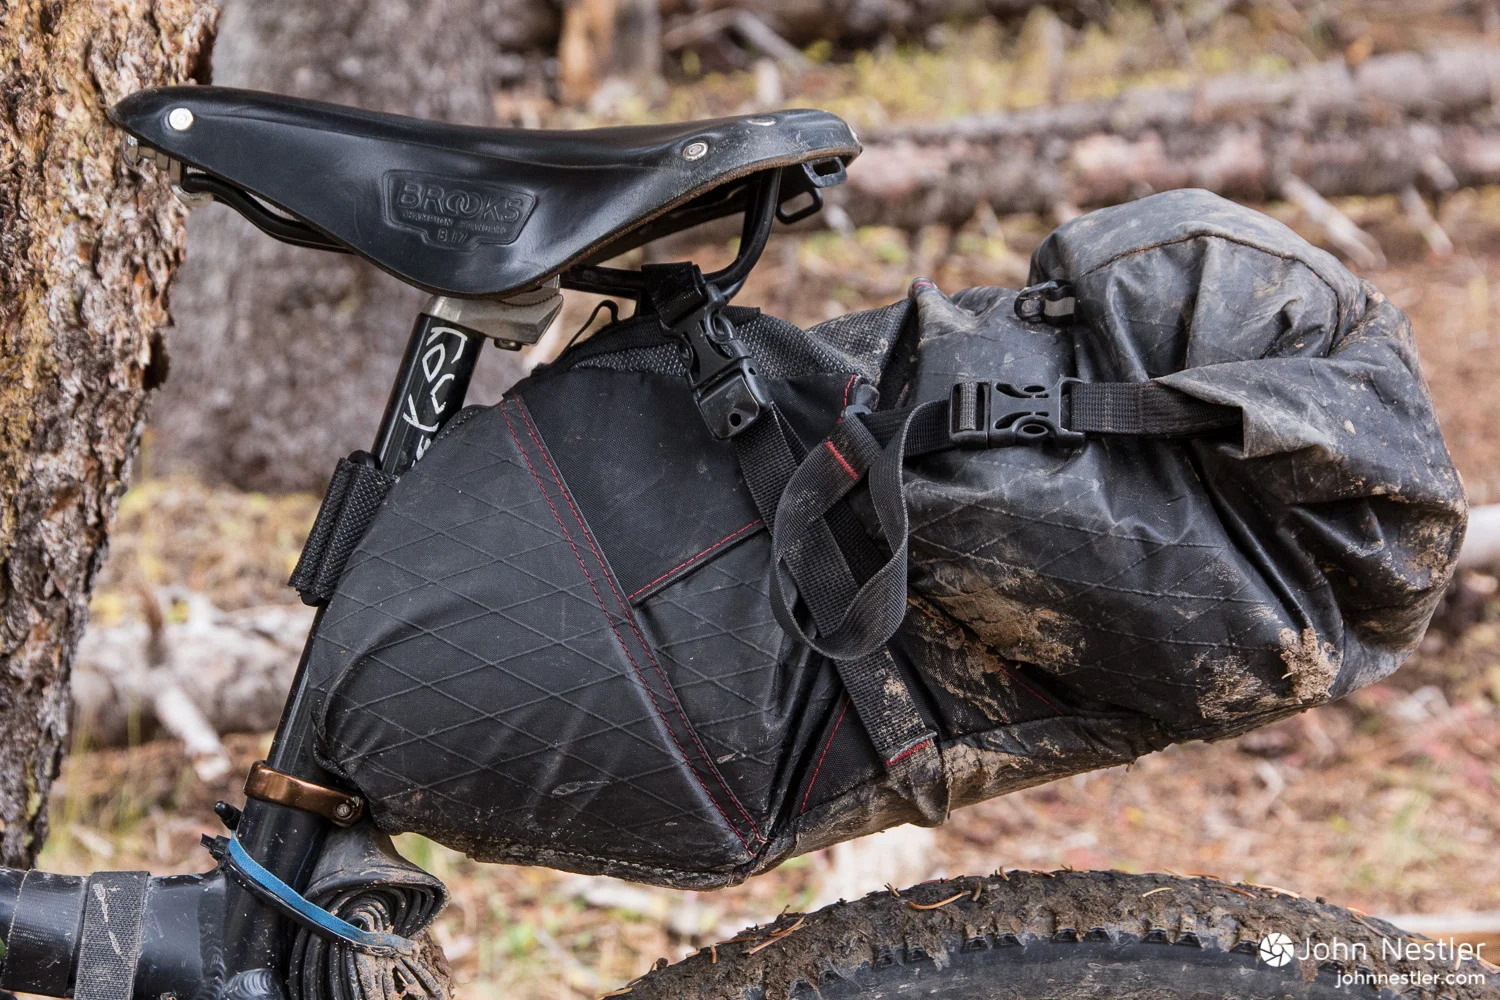
Like the Revelate Designs Ranger, the Viscacha seat bag is also built tough and an essential bag for the Colorado Trail. It secures to the seatpost via a thick band of velcro, and uses two clips to hang off the seat rail. It has a roll top closure, and can be used to store up to 14 L of gear. I used the Viscacha to store my all my food as well as my stove, and it fit 6 days of these supplies perfectly. Using the seat bag not only took weight off my back but also kept things clean and organized by separating food from my clothes and sleeping gear.
The Viscacha extends quite a ways past the back of the seat, but does a great job staying secure. It does take a little practice to pack the bag correctly since shifting contents could cause the bag to fold in the middle, resulting in tire rub. Unfortunately this happened to me once, resulting in some small holes in the bag. The lesson was learned though, and I didn’t have any issues for the rest of the trip. Additionally, it’s best to keep the heaviest items closest to the seat post to minimize the forces exerted on the bag while riding rough trail.
Buy the Viscacha for $130.00 at Tree Fort Bikes.
Cateye Enduro Bike Computer
While the Colorado Trail is well marked, knowing my exact mileages helped greatly in navigating and planning while on the trail. This was especially important on the wilderness detours where there aren’t any official Colorado Trail markers, so I relied on the mileage information from my bike computer and Colorado Trail Databook to figure out where to make turns. It’s also just interesting to know where you are throughout the day and what you might expect coming up based on mileage. The Cateye Enduro is one of the most economical, functional bike computers out there and performed well throughout the trail even in sub-freezing temperatures and mixed precipitation.
Buy the Cateye Enduro for $25 at Amazon.
Watershed Chattooga Drybag
The Watershed Chattooga rounded out my bag setup as a versatile handlebar bag. Revelate Designs also makes a specialized bikepacking handlebar bag, but I already had the Chattooga as a drybag for river trips and decided to test it out for mountain biking. It might not be a perfect fit for everyone, but it worked well and has a couple distinct advantages over non-drybag counterparts.
First and foremost, the Chattooga is fully waterproof and has tons of space. Its 30 L capacity swallowed up my 0 degree sleeping bag, Mega Light tent, and Thermarest NeoAir XLite sleeping pad (more on that later). I purged the air and shaped the contents to allow enough space between the bottom of the bag and tire for suspension travel. Since the Chattooga is watertight I never had to worry about my down sleeping bag getting wet in snow or rain, and the durable construction held up great while on the trail. I strapped the bag to the handlebars via two buckles on the bag and secured it with a 6’ cam strap looped around the handlebar stem.
The closure is also airtight so I stored food in the Chattooga at night to keep scents away from critters and bears. It’s certainly not marketed as a bear bag, but accomplishes the same purpose as bear-specific bags that are more expensive and not always airtight. I’ve used Watershed drybags for this purpose on rivers in the Northwest Territories and Alaska and never had issues with wildlife and food. Overall this setup stood up to the abuse well and kept gear bone dry in inclement weather.
Buy the Chattooga for $90 at Amazon or $108 at Backcountry.com.
Suunto Core Watch
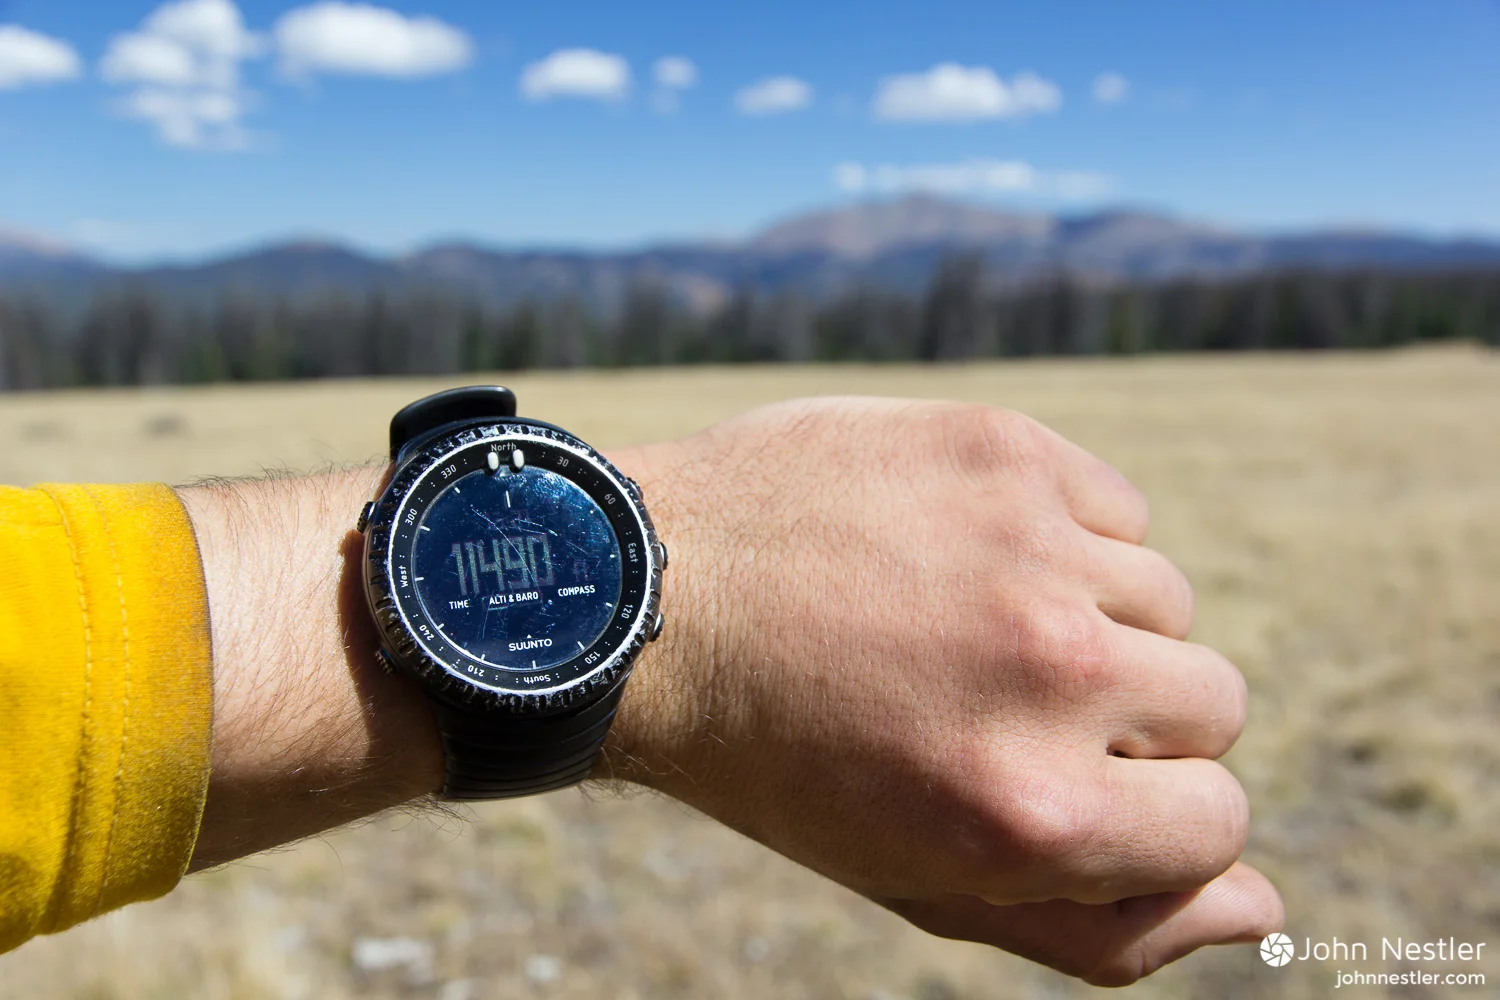
I’ve used the Suunto Core on a number of expeditions, and it proved valuable on the Colorado Trail as well. Along with other features the Core functions as a barometer, altimeter, and compass. Being able to keep an eye on the weather via the barometer is crucial in Colorado, and I combined information from the altimeter and bike computer to really pinpoint my location on the trail. It’s really the ultimate adventure watch, and proves to be a powerful tool on extended trips like this.
Buy the Suunto Core for $239 at Backcountry.com
DeLorme inReach SE
Much of the Colorado Trail ventures out of cell service, and satellite devices have become so affordable and user-friendly that it’s foolish not to have one. I used a SPOT Gen3 for a number of years and then switched to a DeLorme inReach SE and haven’t looked back since. I did a cost analysis of the inReach vs. SPOT a little while ago and while the inReach is more expensive upfront, it proves to be more economical in the long term due to the high annual service plan of the SPOT. There are exceptions, but for the occasional adventurer this holds true.
The inReach also has two-way texting functionality which is crucial for communicating relevant information incase an accident did occur. This goes along with the standard preset messages and location info that is included in other satellite messengers. I was also able to use the inReach to show altitude information, GPS coordinates, and even location specific weather forecasts which is huge. While risk management is always crucial, carrying a device like the inReach is really the responsible thing to do as it could assist with the rescue of someone else and helps reassure loved ones at home that you’re still doing well out there.
Buy the DeLorme inReach for $224 at Amazon or $299 at Backcountry.com.
Brooks B17 Saddle
Brooks has been making leather saddles since 1866, and there’s a reason that they’re still in business today. They are by far some of the most classic, well-made saddles out there. I started using the Brooks B17 saddle on my road bike and quickly threw it onto my mountain bike once trail season began. I see Brooks saddles quite a bit on touring bikes, but suspect that many people feel that they aren’t durable enough for mountain biking. I’ll just say that it’s the most comfortable saddle I’ve ever used on my mountain bike and it has held up to the abuse incredibly well. Maintenance is easy too, just apply a bit of Proofride occasionally, and the leather does the rest of the work for you as it molds to your body shape. The 550 miles of the Colorado Trail can really exert some hurt on your body if you don’t have the right saddle, so make sure you absolutely love and can stand being on your saddle for 15+ days.
Buy the Brooks B17 Saddle for $145 at Backcountry.com.
Crankbrothers m19 Multi-Tool
I’ve had a variety of multi-tools in the past, but none I owned had a chainbreak. Being able to repair a broken chain is important to stay on pace since the Colorado Trail often brings you quite a ways from nearby towns. While I didn’t have any issues this time, I did meet another cyclist who bent his rear derailleur and needed to shorten his chain to make a jerry-rigged single single speed setup. The Crankbrothers m19 Multi-Tool comes equipped with a chain break as well as all the standard tools in a slim package, and worked well on the trail. There are lots of different options out there, but make sure to bring a quality multi-tool to be fully self sufficient on the trail.
Buy the m19 Multi-Tool for $27 at Amazon.
MSR Dromedary
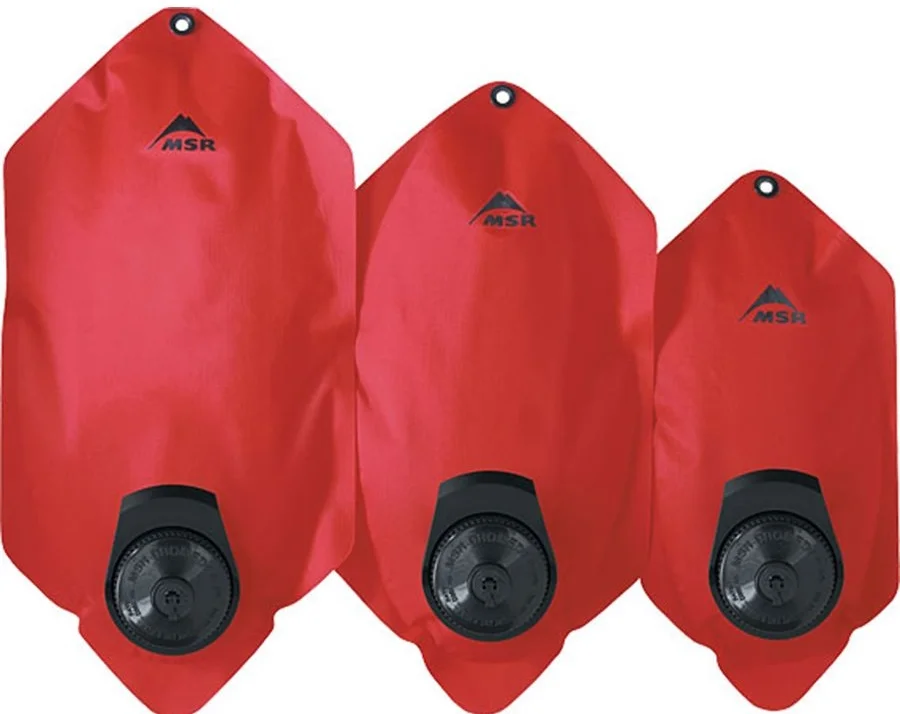
In addition to a 1 L Nalgene I used a 4 L MSR Dromedary for most of my water storage needs. Dromedary bags are durable, packable water containers which allow you to adjust how much water you are carrying at any one time while maximizing space for other gear. I stored the Drom exclusively in my Revelate Designs Ranger frame pack, so for segments without much accessible water I would fill it up to 3 L and shift other items to make space. On segments with lots of water I would fill the Drom up less and utilize the extra space. Overall this water storage and treatment system was very flexible and allowed me to stay well hydrated on the trail. There are some ideas for the future that I’ll discuss further on in this post, but you really can’t go wrong with a Drom.
Buy the 4 Liter MSR DromLite for $30 at REI.
Bike Repair Kit
No, this isn’t a specialized piece of gear, but it can be difficult to pare down repair kits to just the essentials. My kit is pictured in the left half of the above picture. Here’s what I had on the trail:
- Pump
- Wrench (for my ENO Eccentric rear hub)
- Tire levers
- Patch kit
- Spare tube
- Quicklinks
- spare brake pad set
- zip-ties
- multi-tool
- Duct Tape
Gear I Wish I Had (Theoretically)
Platypus Platy Bottle
While I’ve used a few Platypus water bottles, I’ve never used any in the backcountry so I can’t comment on what durability might be like. I mentioned above that the MSR Dromedary worked well for water storage, but it could be nice to have two smaller and lighter Platy Bottles (2 L) to partition water into untreated and treated groups. That way I could treat 2 liters for use on the trail during the day and have an untreated reservoir of water for cooking needs. In the end it makes a minor difference, but it’s nice to cut down on the amount of water treatment chemicals that I consume on a trip. Platypus bottles also are quite a bit lighter and lower profile than the Dromedary bags, which have beefy caps.
Buy the Platy Bottle for $10 at Backcountry.com.
Pearl Izumi X-Alp Shoe
There are a few hybrid sneaker/cycling shoes out there, but the Pearl Izumi X-Alp comes to mind first. I see a shoe like this as advantageous on the Colorado Trail since there’s a significant amount of hike-a-bike time. If the elevation profile looked too steep on the Colorado Trail Databook I would stop and switch from mountain bike shoes to sneakers. This gave added traction and comfort, but adds up to quite a bit of time and effort. A shoe like the X-Alp might straddle the line between both worlds and be a versatile addition for the biking and hiking involved in the Colorado Trail.
Buy the X-Alp for $100 at REI.
What Didn’t Work
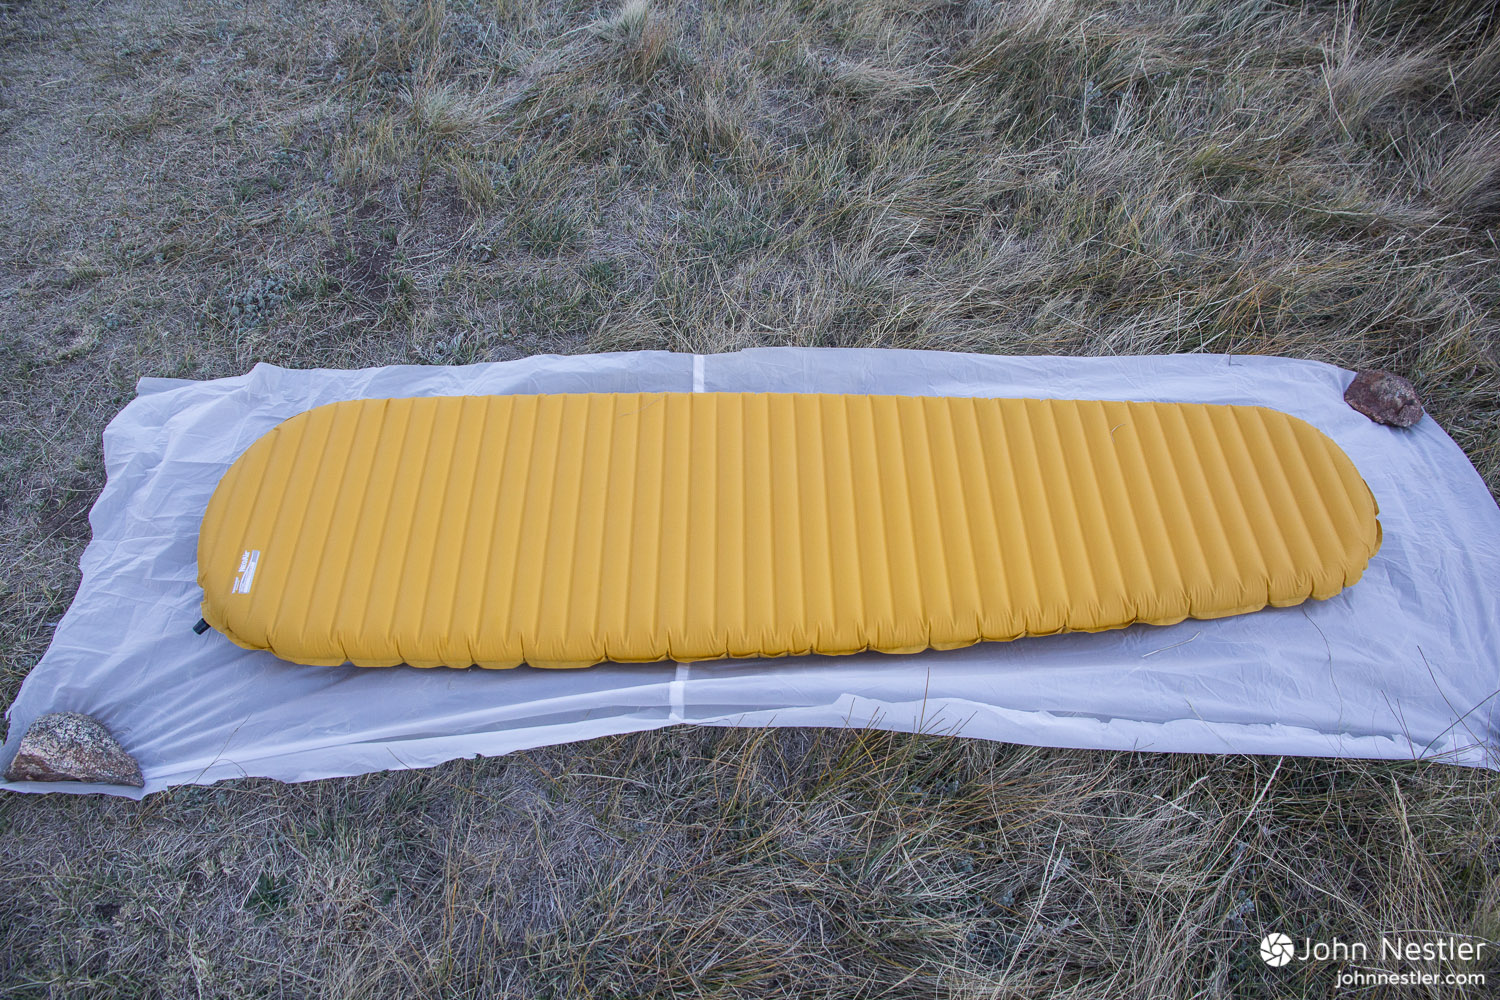
Therm-a-Rest NeoAir X-Lite
This trip was my first foray in the world of ultra-light, inflatable sleeping pads. I had high hopes for the NeoAir X-Lite since it was compact and light, but the durability just didn’t live up to expectations. I used the pad twice before the Colorado Trail in a tent with a bathtub floor, and it sprang a leak just after those two uses. I continued to use it on the trail for six days while re-inflating it every so often at night, then left the pad behind in Leadville and continued on with my bulky yet trusty Therm-a-rest Ridge Rest foam sleeping pad. It’s possible that I got a lemon, but the lack of durability alarmed me. The returns crew at Backcountry.com was very understanding and let me return it easily, so shout out to them. Leave a comment at the end of the post if you’ve had sour experiences with sleeping pads like this.
Bottom Line
You walk a fine line with gear on the Colorado Trail since you want to carry enough clothing and gear to stay warm and comfortable, but want to stay as light as possible. Certainly don’t get focused on having the fanciest gear out there either, use what you have and do a couple trail runs on local trails to see what gear combination works best for you. Overall your goals are to keep the overall weight as low as possible and keep the weight off your back by utilizing space on the frame. Have fun with it and leave a comment below with any suggestions from your personal experiences!
Any questions or opinions? I'd love to hear from you, just leave a comment below.
Like this post? Sign up below for an email newsletter from the site. No spam, I promise!











I finished bikepacking the Colorado Trail in the fall of 2016, and quickly became interested in the average trip length of other trail users. I originally intended to analyze bikepacker trip length, but I created an online survey and 90% of the responses came from thru-hikers (57 out of 63 responses). This article examines the average length of a thru hike on the Colorado Trail as well as other factors including hiker age, gender differences, and whether hikers wished they had budgeted extra days for their trip.