How to Heat Your Salomon Custom Shell Ski Boots at Home
Having a pair of quality, well-fitting ski boots is critical to transferring leg and foot movements to the skis. Finding the right fitting boot is a long process though, and achieving that custom fit through repeated trips to a boot fitter can become time intensive and expensive. This winter I started to research and try on a variety of ski boots, but no brand fit perfectly out of the box. The fit was often good in a few areas then uncomfortable either in the toe box or around the ankle. Through my research I came across Salomon’s Custom Shell technology which intrigued me since it gave one the ability to not only thermoform the liner but also the plastic shell of the boot. Salomon boot fitters have a special oven for this, but after reading about the technology and process from Salomon's Technical Manual it seemed feasible to replicate the process at home. This would allow me to buy ski boots at a discount online and custom fit them at home.
Find this article useful? Consider supporting the site by shopping for ski boots using an affiliate link to REI or Backcountry.com! Thanks for the support.
Long story short, when I first put on a pair of Salomon X Max 120 ski boots my feet fell asleep in about 30 minutes. After heating them up and molding them once at home I had a fit that was tight in the right places and a boot that I could wear all day without issues. I was sold. In this post I’ll go into a little detail of how the Salomon Custom Shell works as well as instructions to heat your own Salomon Custom Shell boots up at home using a conventional oven to customize the fit.
This tutorial and the discussion of Custom Shell 360 Technology are based on my experience with the Salomon X Max 120. This technology should be present in MAX and PRO series boots from Salomon (ex. X Max, X Pro, QST PRO, etc). Check the boot’s specifications from Salomon to see if the shell has Custom Shell 360 technology. Shop Salomon boots at Backcountry.com.
Basics of Salomon Custom Shell 360 Technology
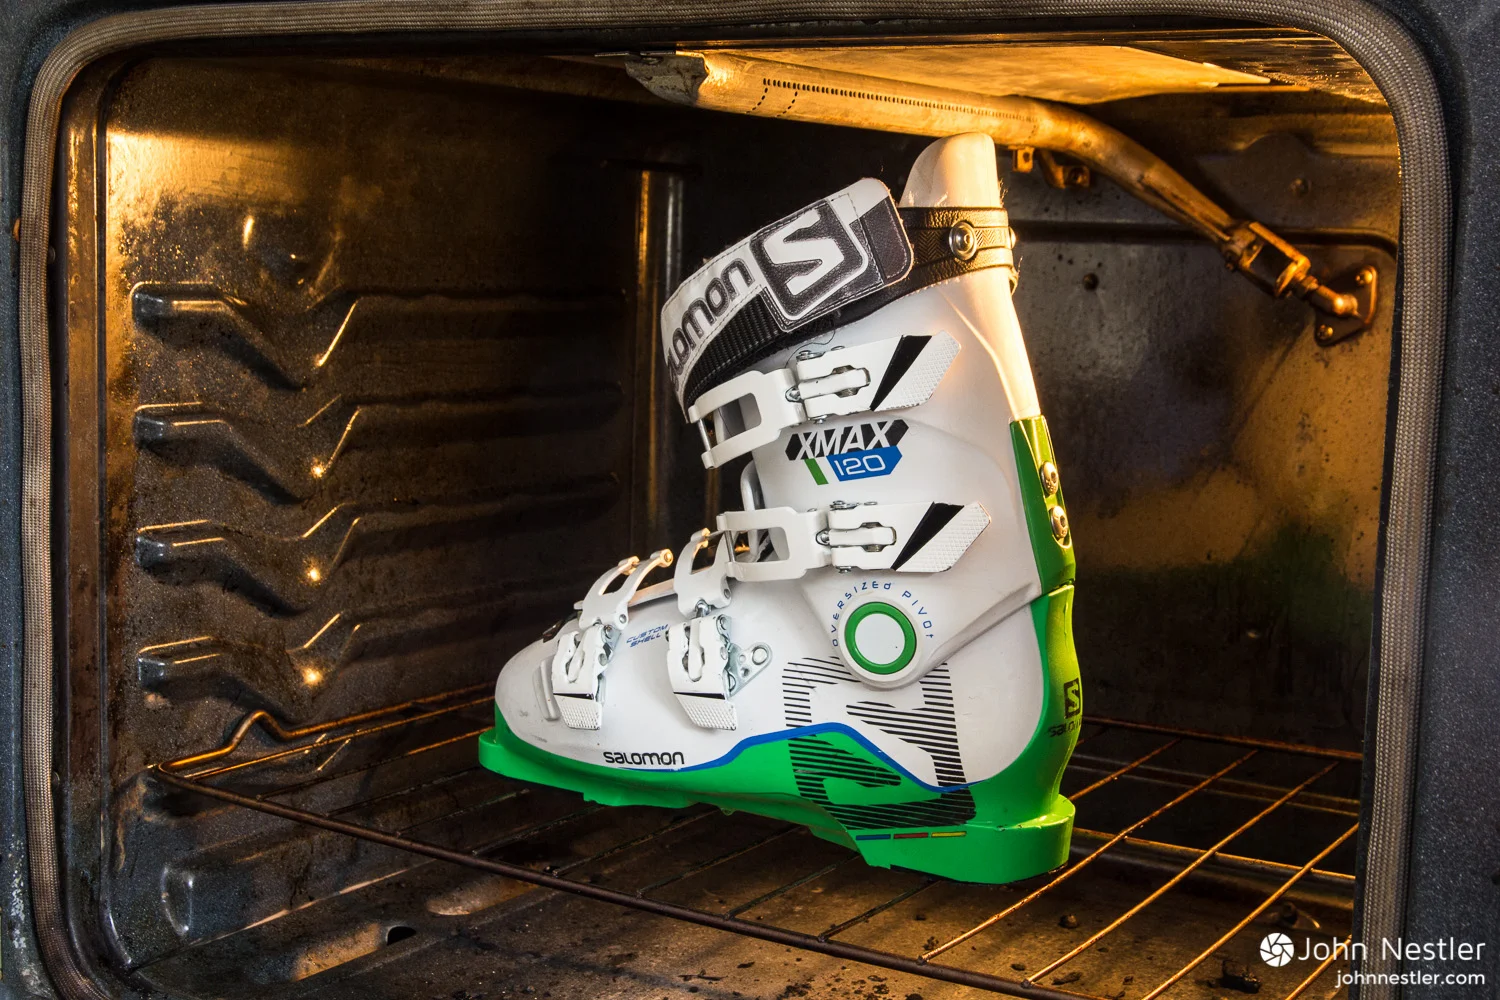
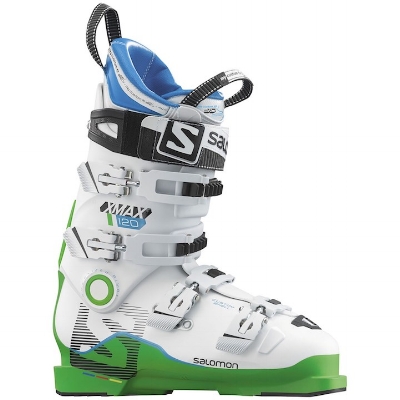
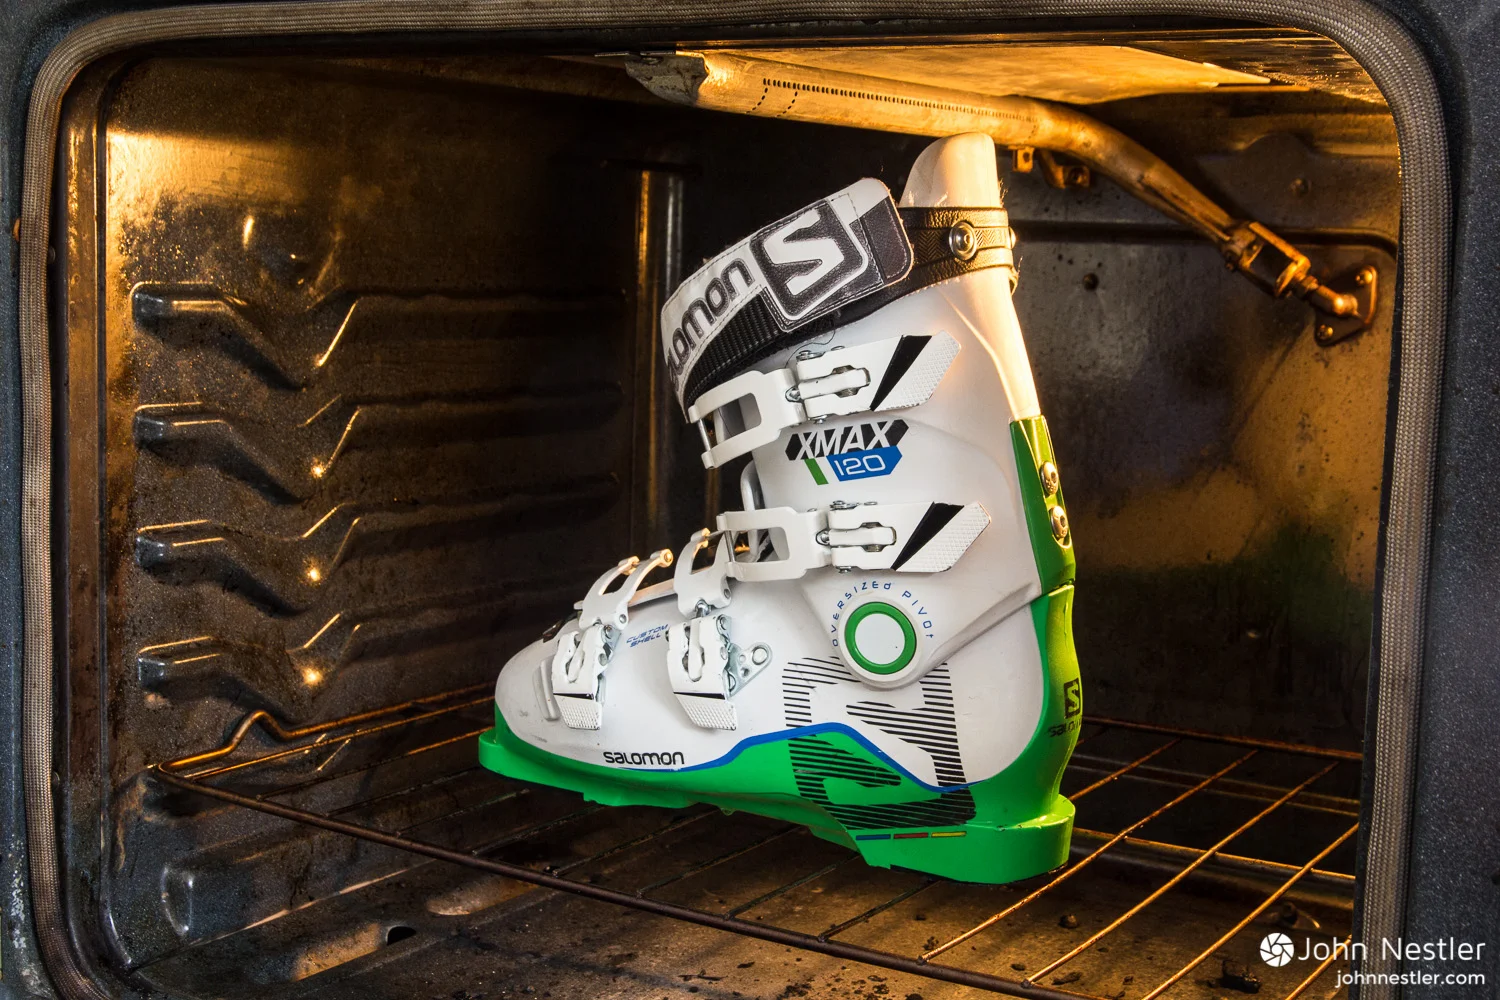
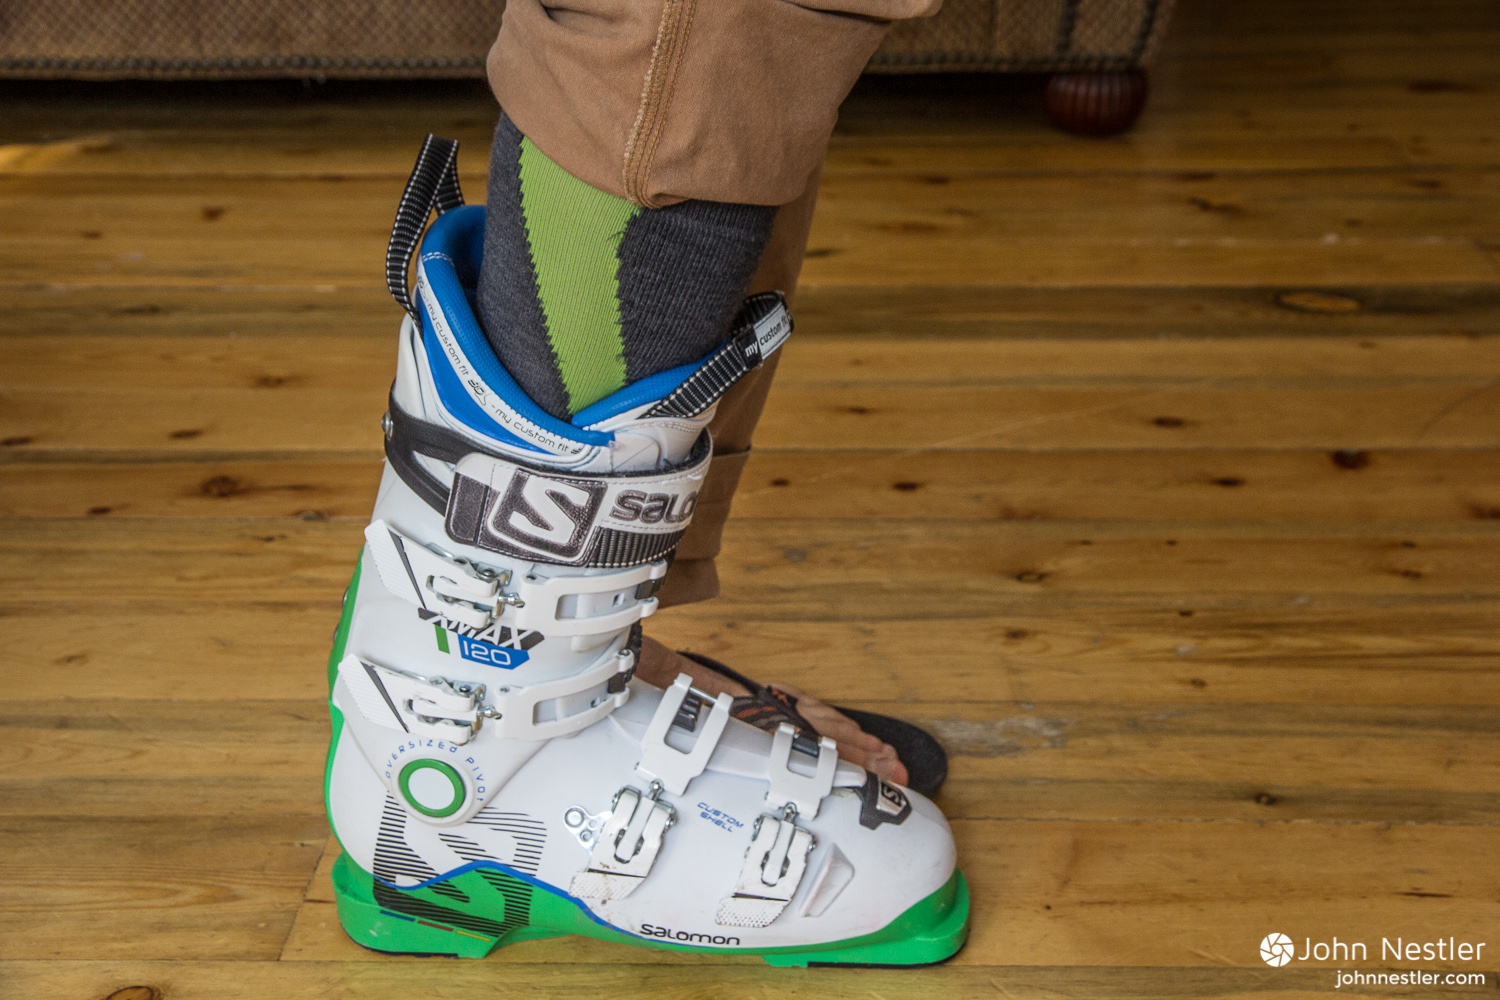
If you look at the Salomon X Max boot above, you’ll see a clear dividing line between the green lower plastic and white upper. That’s a visual illustration of Salomon’s Twinframe technology - essentially they use a very stiff plastic for the green boot lowers to enhance performance and responsiveness while a softer, thermoformable plastic is used for the white uppers to facilitate their Custom Shell 360 fit. Many boot can be heated and deformed, but the plastic typically shrinks back to its original shape without noticeable expansion. Salomon uses Kaprolene which is a plastic pliable enough to deform from your foot’s natural pressure at high temperature but can still retain this shape when cooled. Salomon states that Kaprolene retracts two times less when cooled compared to normal plastic used in other ski boots, so after deformation Kaprolene will shrink a maximum of 25%.
Kaprolene injection in the 3rd Generation Custom Shell Boots (2012 on) allows for customization in the forefoot zone, ankle, and heel. As an example, the X Max has a last of 98 mm; however, the last can be expanded to 104 mm by heating the Kaprolene shell and expanding it with the foot’s pressure. That’s a 6 mm increase in width which greatly expands the versatility of these boots to easily fit many foot types.
It’s important to note that heating the shell and molding it to your foot will only cause the shell to expand, so this process takes a tight boot and gives a little extra space in the right areas. Don’t use this process to make the shell tighter as that’s not possible, unless you paired it with a vacuum fit machine. People have reported using the Fischer Vacuum Fit machine with Salomon boots, but that would require a trip to a Fischer Vacuum Fit boot shop, and due to the proprietary nature of Fischer’s technology it would be a long shot to have a shop allow that. Since the shell only expands I’d recommend skiing in your new pair of Salomon boots for 10+ days to allow the liner to pack down a bit, and if the shell still needs modification then do the custom fitting. If you mold the shell right off the bat then the boot will become a little looser than you may want as the boot liner packs down.
Enough of all those details! Let’s get down to business with how to properly heat up your Salomon boots at home and mold them to your feet.
Molding Salomon Custom Shell Boots at Home
Time Required: Around 30-40 minutes
Equipment Needed: Oven, tub of cold water, ice if available, gloves
Note: For the purposes of this article I did the pictures with only one boot. This process should be done with both boots heated and put on at the same time. Additionally, I take no responsibility for any damage done to your boots. The instructions are meant to be clear and safe, but please be careful with the process.
Preparation: 10 minutes
Step 1
Pre-heat your oven to 200° Fahrenheit. If you oven has a convection setting, use that to create a more even temperature gradient.
Step 2
Remove the boot liners from the shells. Put those aside as you’ll add them back to the boot after heating. Also remove the base plate at the bottom of the boot (see below). Edit: apparently Salomon advises to keep the base plate in the boot during the molding process for all models aside from the MTN line. Also, make sure you’re wearing your standard ski socks since you’ll step into the boot later.
Step 3
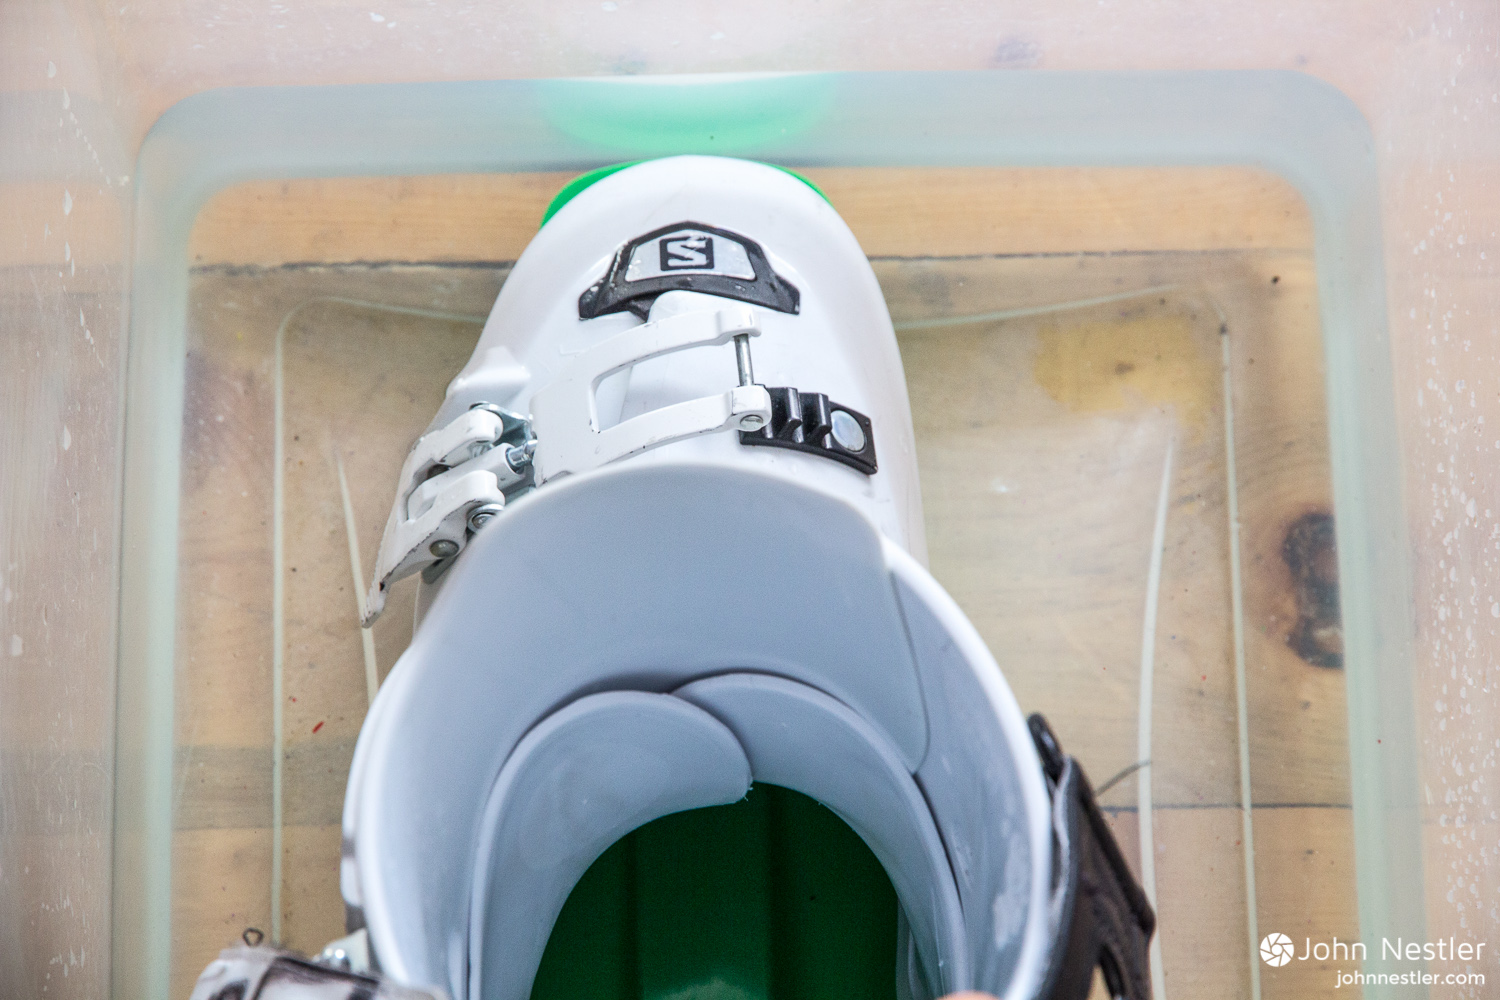
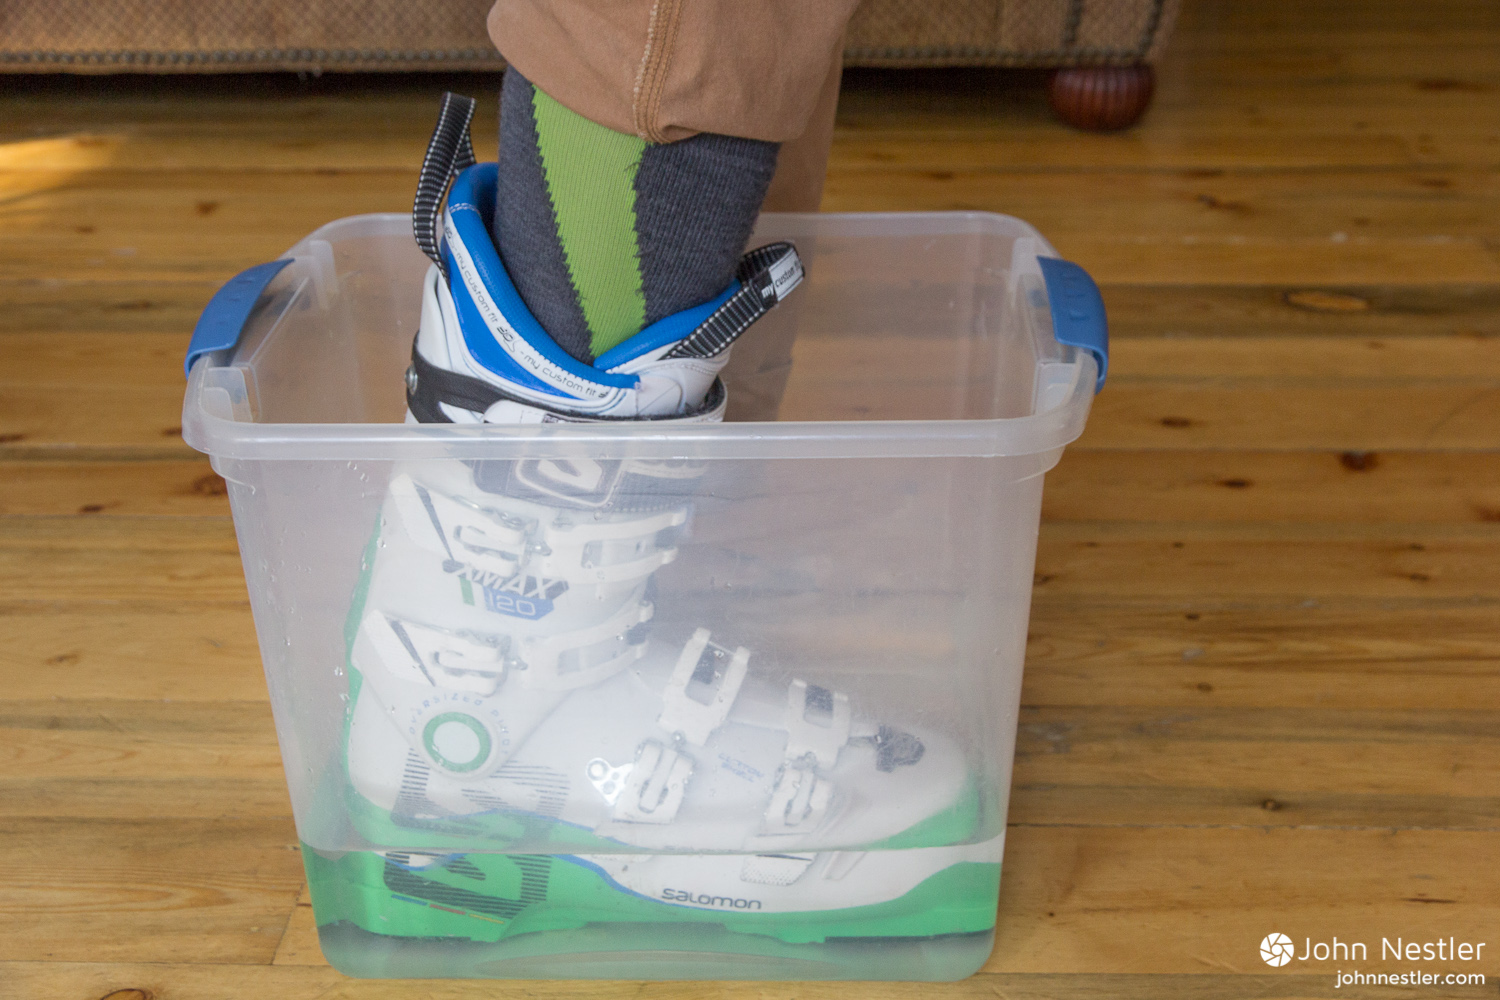
Using the boot shell as a guide fill a tub with cold water (and ice if possible) until the water level is just below the overlapping shell at the forefoot of the boot. This will be used to rapidly cool the boot after molding.
Heating: 10 Minutes
Step 4
Place the shells in the oven and start a timer for 10 minutes. The Kaprolene needs to be heated to approximately 176° Fahrenheit at its core, so make sure to leave the boots in for the full 10 minutes.
Step 5
At the end of the 10 minutes used gloved hands to remove the boots from the oven & turn oven off. Be careful around the metal buckles since those are hot.
Step 6
Insert the base plates and liners back into both boots. Do this quickly but carefully.
Molding: 4 minutes
Step 7
Wearing your ski socks step into both boots and loosely tighten boots just to the first tooth of the buckle. Adjust the power strap so it provides support but isn't overly tight. Once boots are buckled, adopt a skiing stance that you might have for easy blue terrain. Maintain this stance for 4 minutes as the shell expands at the pressure points of your foot.
Note: Avoid walking around in the boots during this process. Maintain a static stance while the molding occurs.
Cooling: 10 Minutes
Step 8
After the molding is finished, step into the tub of cold water. Remain in your static stance for 10 minutes as the plastic cools and stiffens to retain its shape later.
Bottom Line
Salomon’s Custom Shell 360 Technology allows you to easily fine tune the fit of a ski boot to your specific foot. The level of customization with these boots rivals that of basic boot fitting, and it’s possible to heat and mold the boots at home with just an oven in less than an hour. These instructions detail the process step by step.
Any questions or opinions? I'd love to hear from you, just leave a comment below.
Find this article useful? Consider supporting the site by shopping for ski boots using an affiliate link to REI or Backcountry.com! Thanks for the support.




My last two trips down the Canyon were 20+ day self support solo kayak trips and I was ready to share the experience with someone else. The only catch was I only had 8 days off of work, so it'd have to be a quick trip. And in the spirit of adventure it made sense to go all the way to Pearce. It wasn't an easy sell - paddle 40 miles per day, for 7 days, in the middle of winter, but a good friend from college agreed to come along and I was stoked for the adventure.